Cleaning a Dryer Vent with a Brush
- Posted by admin
- On August 5, 2022
- 0 Comments
- cleaning, dryer vent cleaning, dryer vents, every dryer, vents
How Often Should You Clean Your Dryer Vent ?
You should clean your dryer vent at least once a year—make it a part of your annual deep clean. But also watch to see if your dryer seems to be taking longer to dry clothing, since that might signal there’s a buildup of dust and lint in your dryer vent.
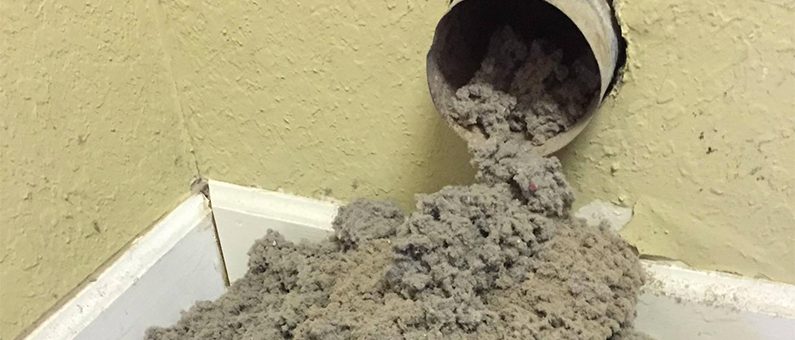
Excessive dryer lint buildup can also pose a fire hazard, since lint extremely combustible. A significant number of fires caused by an accumulation of dryer lint—a critical reason to exercise vigilance and clean your dryer vent regularly.
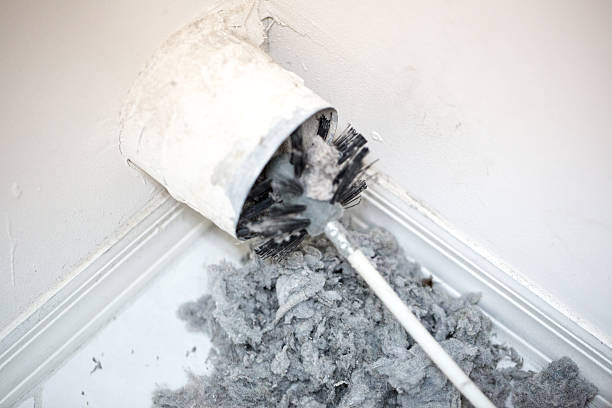
The brush itself a flexible plastic or metal rod that ends in thick bristles. The rod attaches easily to most electric drills, and spins rapidly when the drill turned on. The product usually comes with multiple flexible rods that can added on to the drill to attain whatever your desired length , reaching deep into the dryer vent.
To clean your dryer vent with a vent cleaning brush:
- Attach the brush to the drill head at whatever length matches the length of the full dryer vent.
- Stick the brush into the exit of the dryer vent, pushing in until you’re about a third of the full length of the vent.
- Turn on the drill and move the brush back and forth, pushing in and out to break up the blockages most effectively.
- Pull out the drill, bringing any blockages with it.
- Repeat thoroughly two-thirds into the dryer vent, and the full length of the dryer vent.
- Go inside and look into the beginning of the dryer vent, ensuring you can’t see any blockages.
3 Easy Steps to Clean Your Dryer Vent:
Step 1: Disconnect Dryer from Power Source
This may mean just unplugging your electric dryer from the outlet. If you have a gas-powered dryer, take care to not to disconnect the gas from the supply valve; simply turn off the gas valve so it’s not flowing to the dryer while you work on it. (If you are uncomfortable working with your gas-powered dryer, have a professional maintain your machine.)
Step 2: Disconnect the Duct from the Dryer
While working with your dryer vent, wear a protective dust mask. Carefully and gently move the dryer away from the wall so you have access to the rear dryer vent on the back of the machine. You can now disconnect the exhaust duct from the machine (typically connections are simply clamped in place, but in other circumstances, you may need to use a screwdriver). Inspect the dryer vent—usually a tube made of flexible plastic or rigid or semi-rigid metal—for any breaks or damage.
Step 3: Use Vacuum Hose and Brushes to Clean the Lint Catcher and Vent
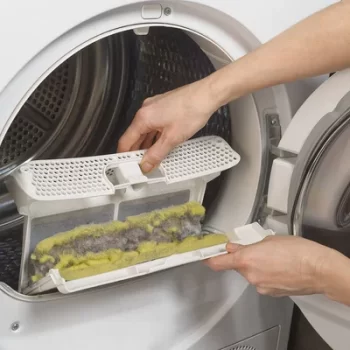
Your vacuum’s crevice tool should be effective in cleaning out much of the lint from your dryer’s lint trap, but you can also use a soft rag.
If available, use a flexible long brush (such as one for cleaning refrigerator coils or one designed for ducts) to get into otherwise inaccessible nooks and crannies in your lint trap. (Make sure you clean the lint from the trap after every load of laundry.)
Around the back of the dryer, use the vacuum to clean lint from the machine end of the exhaust duct. Then vacuum debris, lint, and dust from the duct itself. You may want to purchase a simple duct brush kit with an extendable pole to stir up stuck-on dust you can’t reach in the duct.

0 Comments